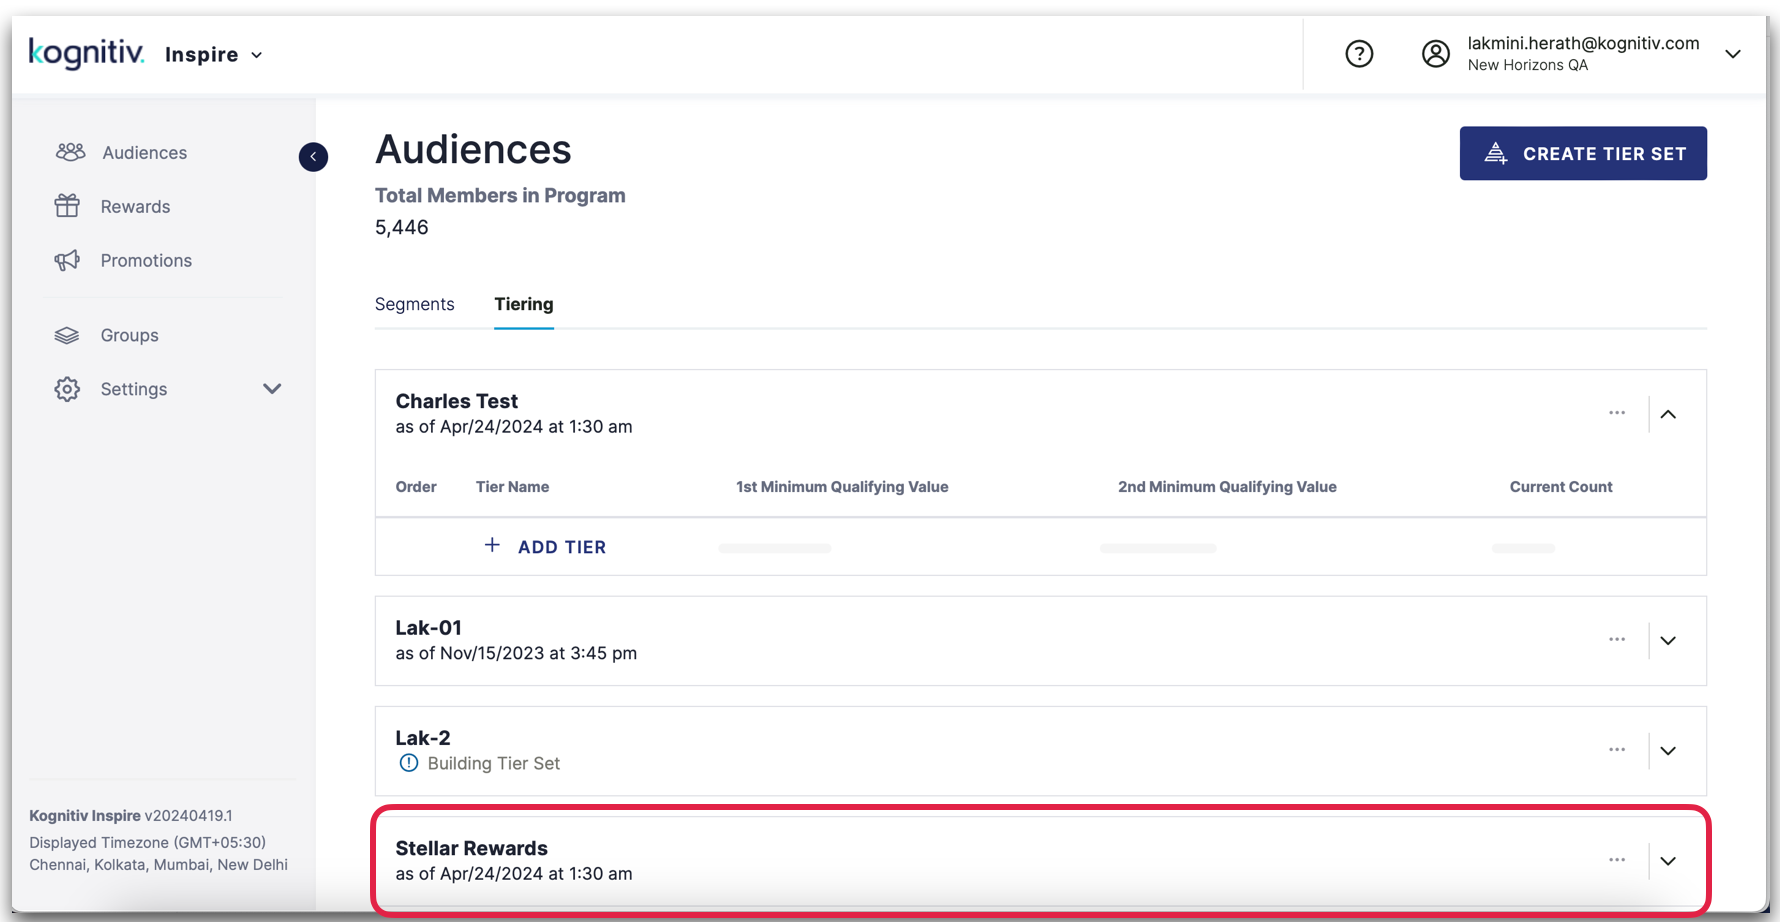
In Kognitiv Inspire, Customer tiering is a strategy where customers are categorized into different tiers or levels based on their engagement, loyalty, and spending behavior. This tiered structure is designed to recognize and reward customers for their varying levels of commitment to the business. Typically, the higher the tier, the more benefits and privileges a customer receives.
The following is a guide for creating a tier set along with its tiers in Kognitiv Inspire.
Navigation
1. Navigate to the "Audiences" section in your Kognitiv Inspire application by selecting it from the left-side panel.

2. Click on the "Tiering" tab.

Create a New Tier Set
3. To create a new tier set, click the "Create New Tier Set" button.

4. Fill in the mandatory details ("Name" and "External Reference") for the new tier set.
5. Toggle the "Show on Member Services Screen" switch to "yes" to enable the tier's visibility on the Member Services Screen.
6. Click "Continue" to proceed to the "Add Rules" section of the new tier creation process.

Add Qualifiers
7. Choose the appropriate tier type for the primary qualifier within the tier set by selecting from the dropdown menu.
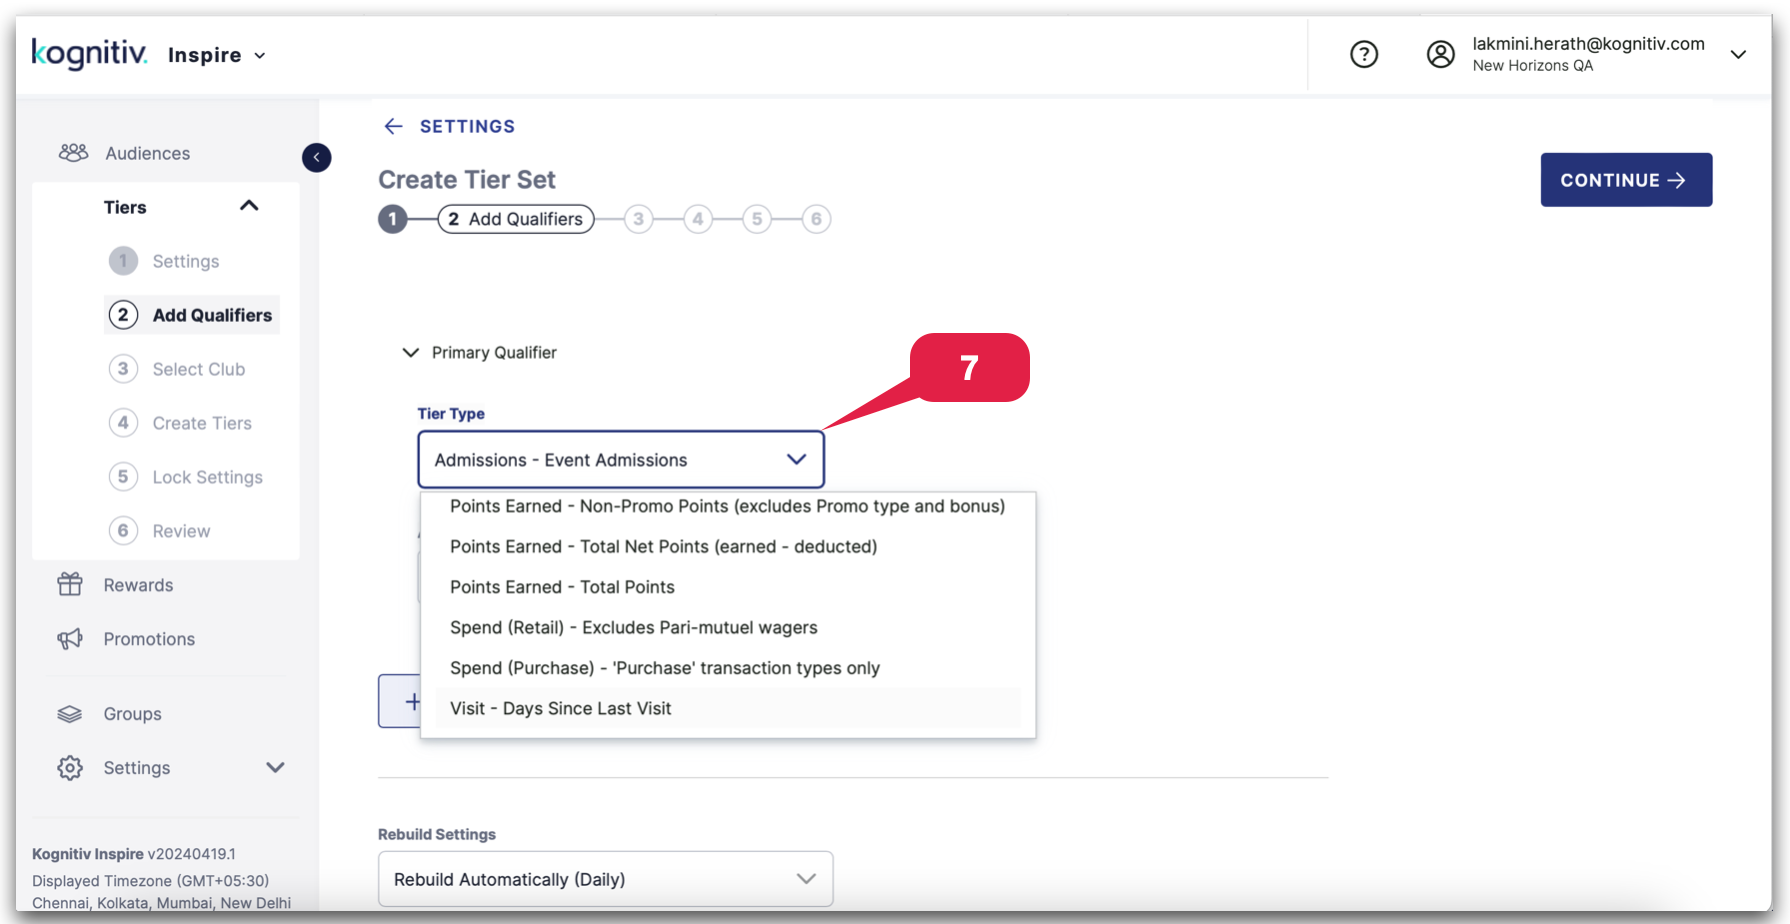
8. Choose the appropriate timeframe for the primary qualifier by selecting from the dropdown menu.
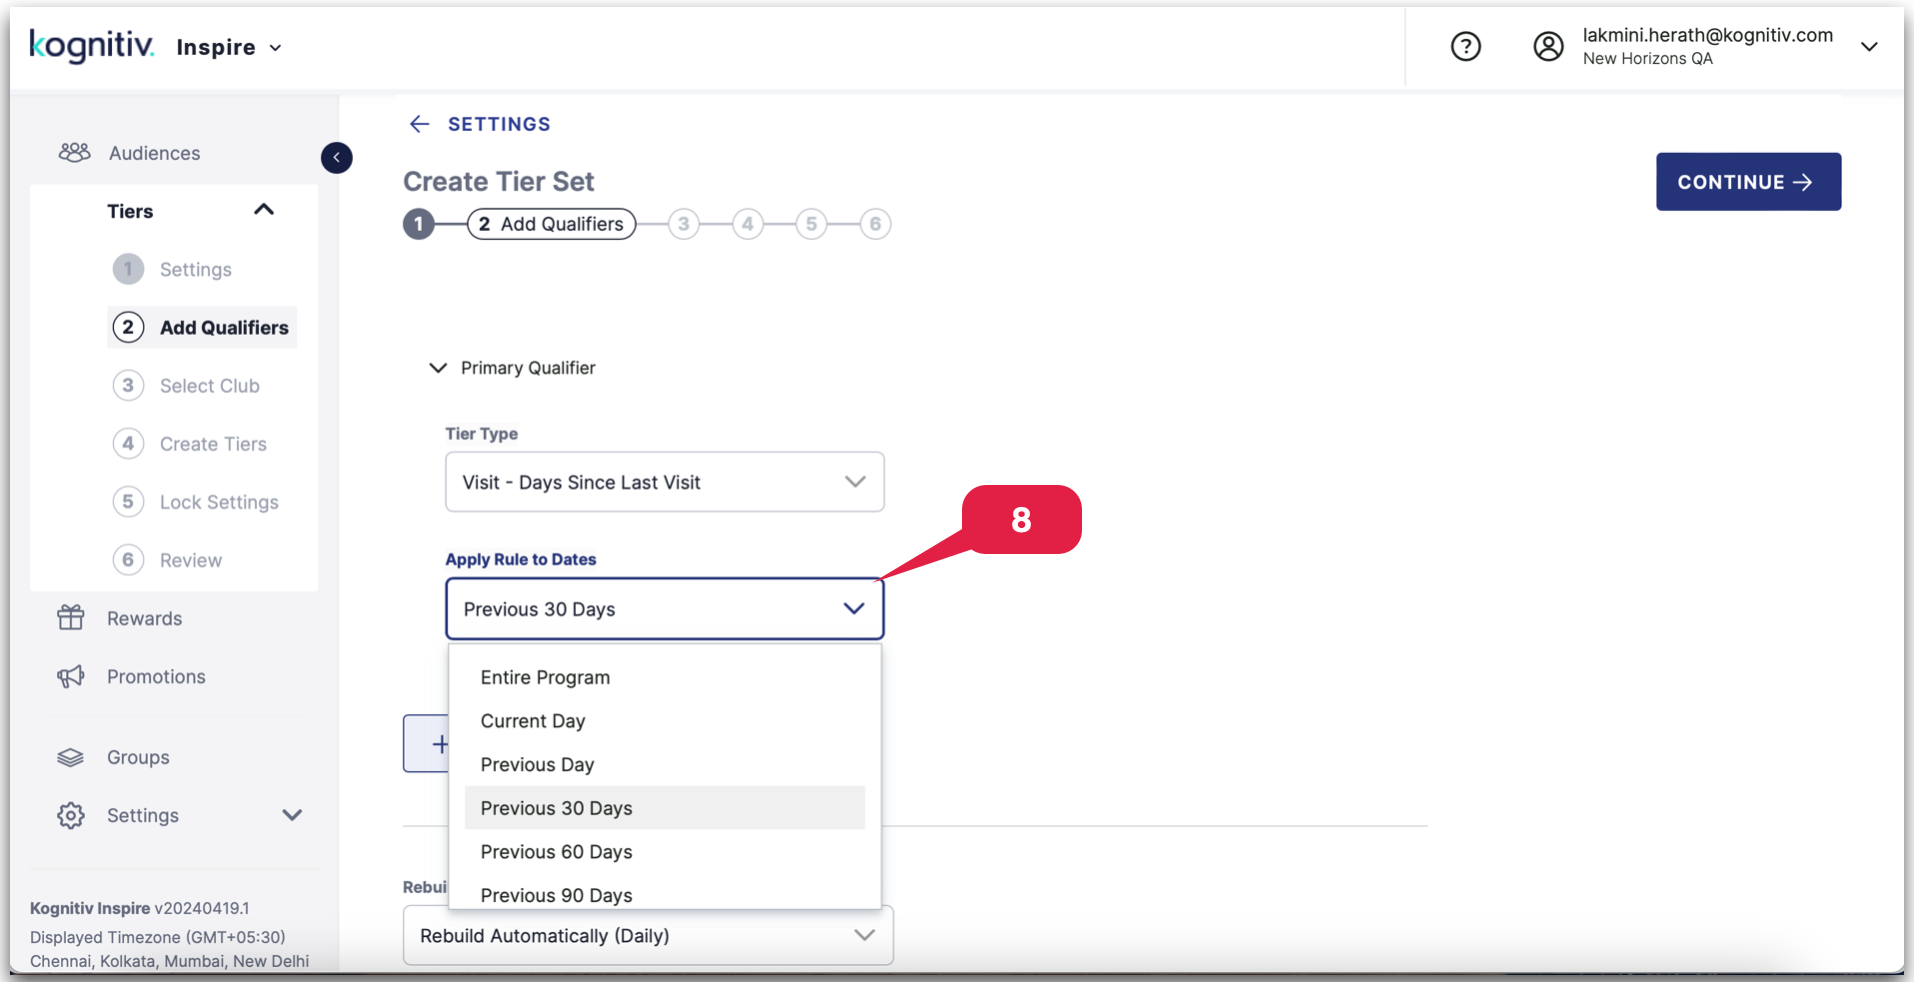
9. Expand your options by clicking the "Add Qualifier" button to include additional qualifiers.
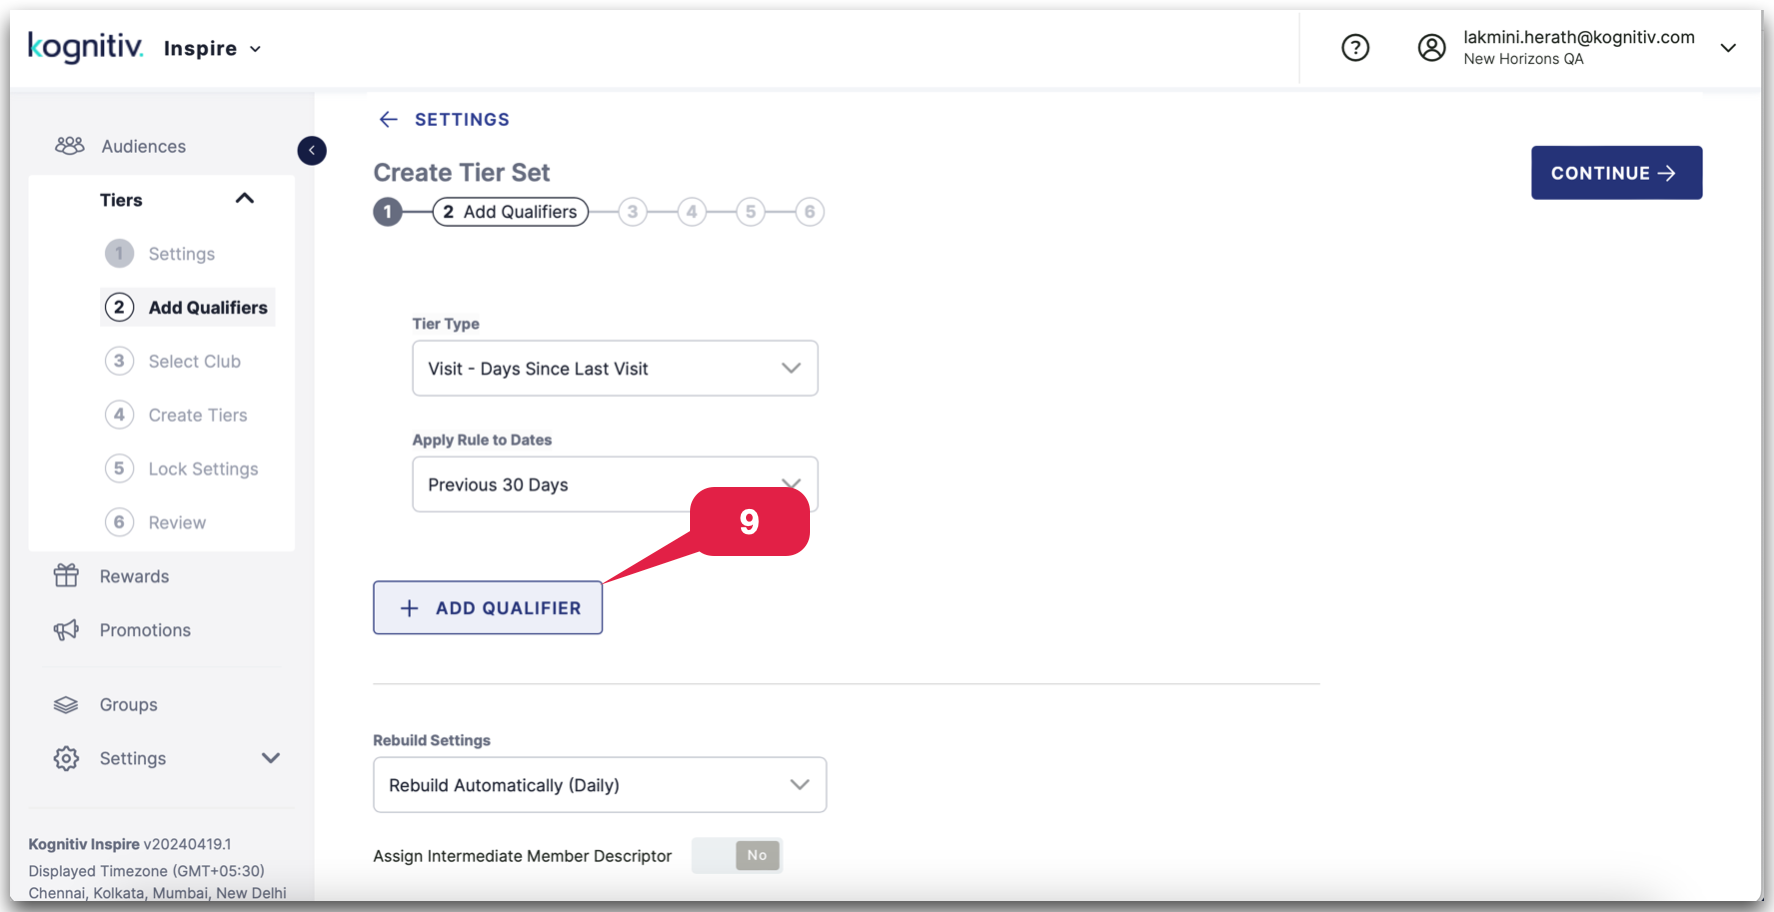
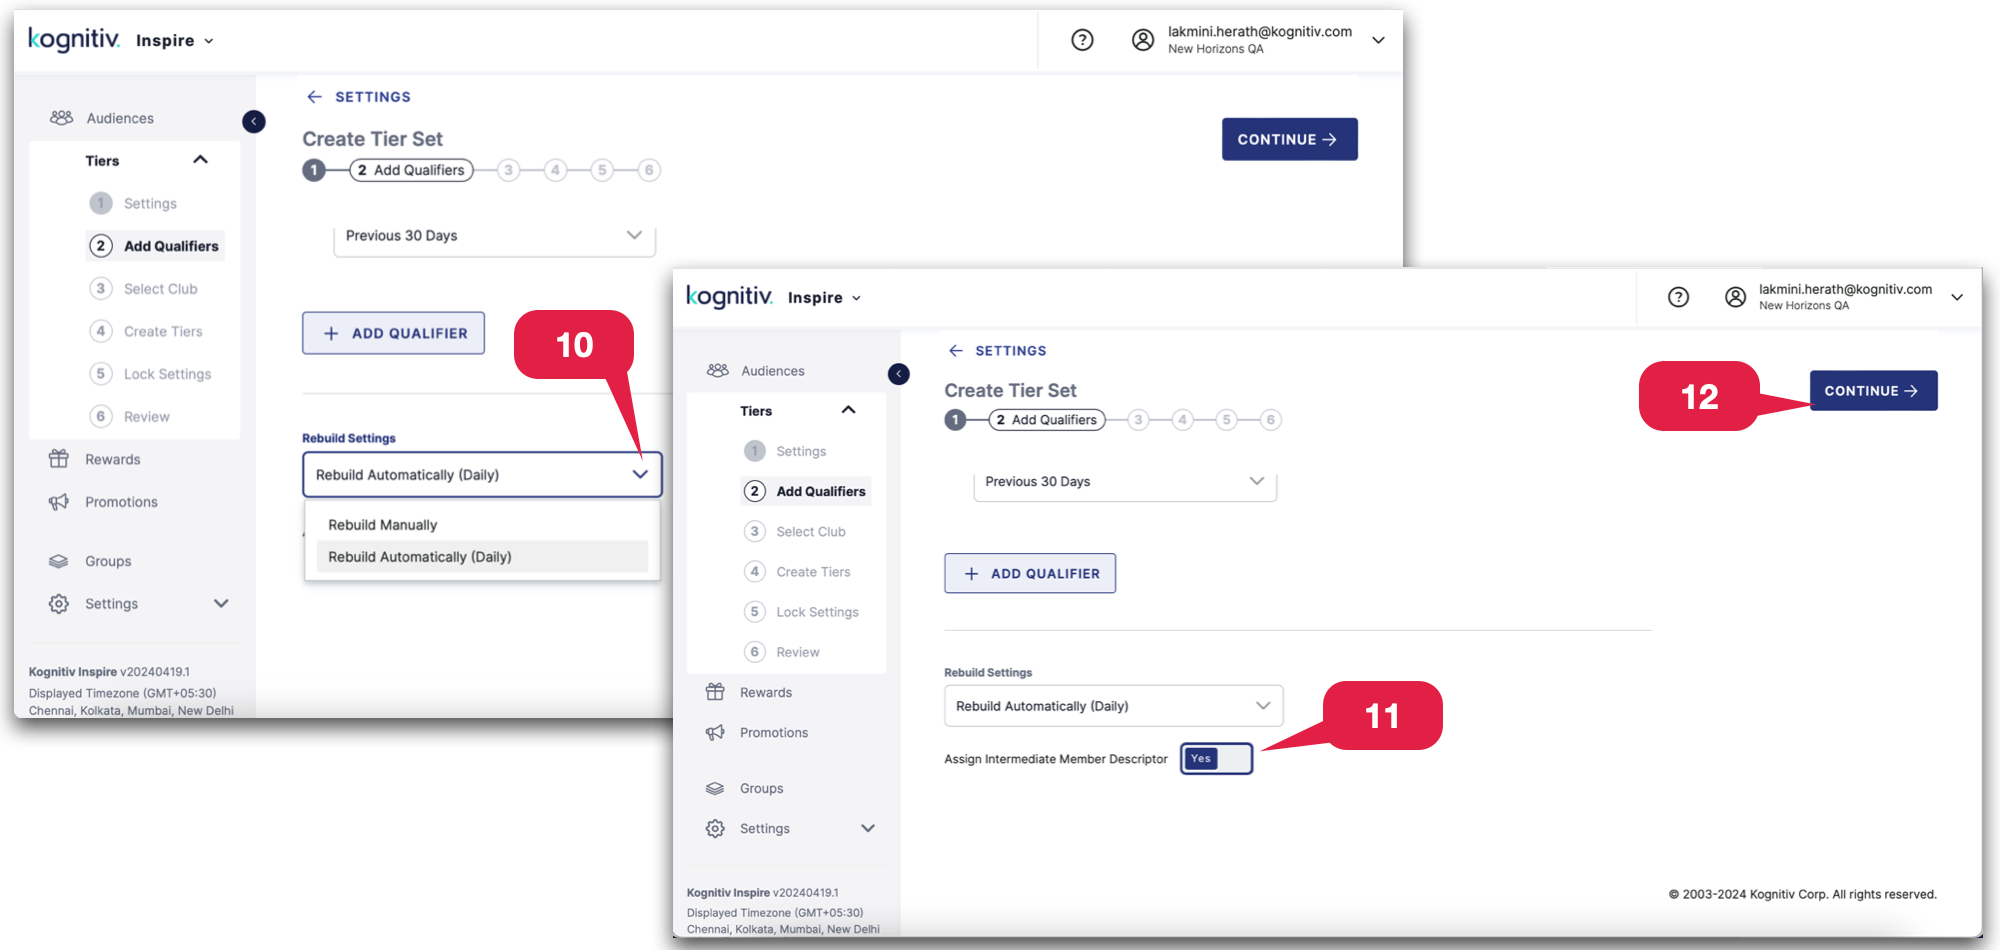
10. Choose the appropriate rebuild setting from the dropdown menu.
11. Toggle the switch to "Yes" to promptly assign member descriptors.
12. Click "Continue" to proceed to the Select Club Screen.
Select Club
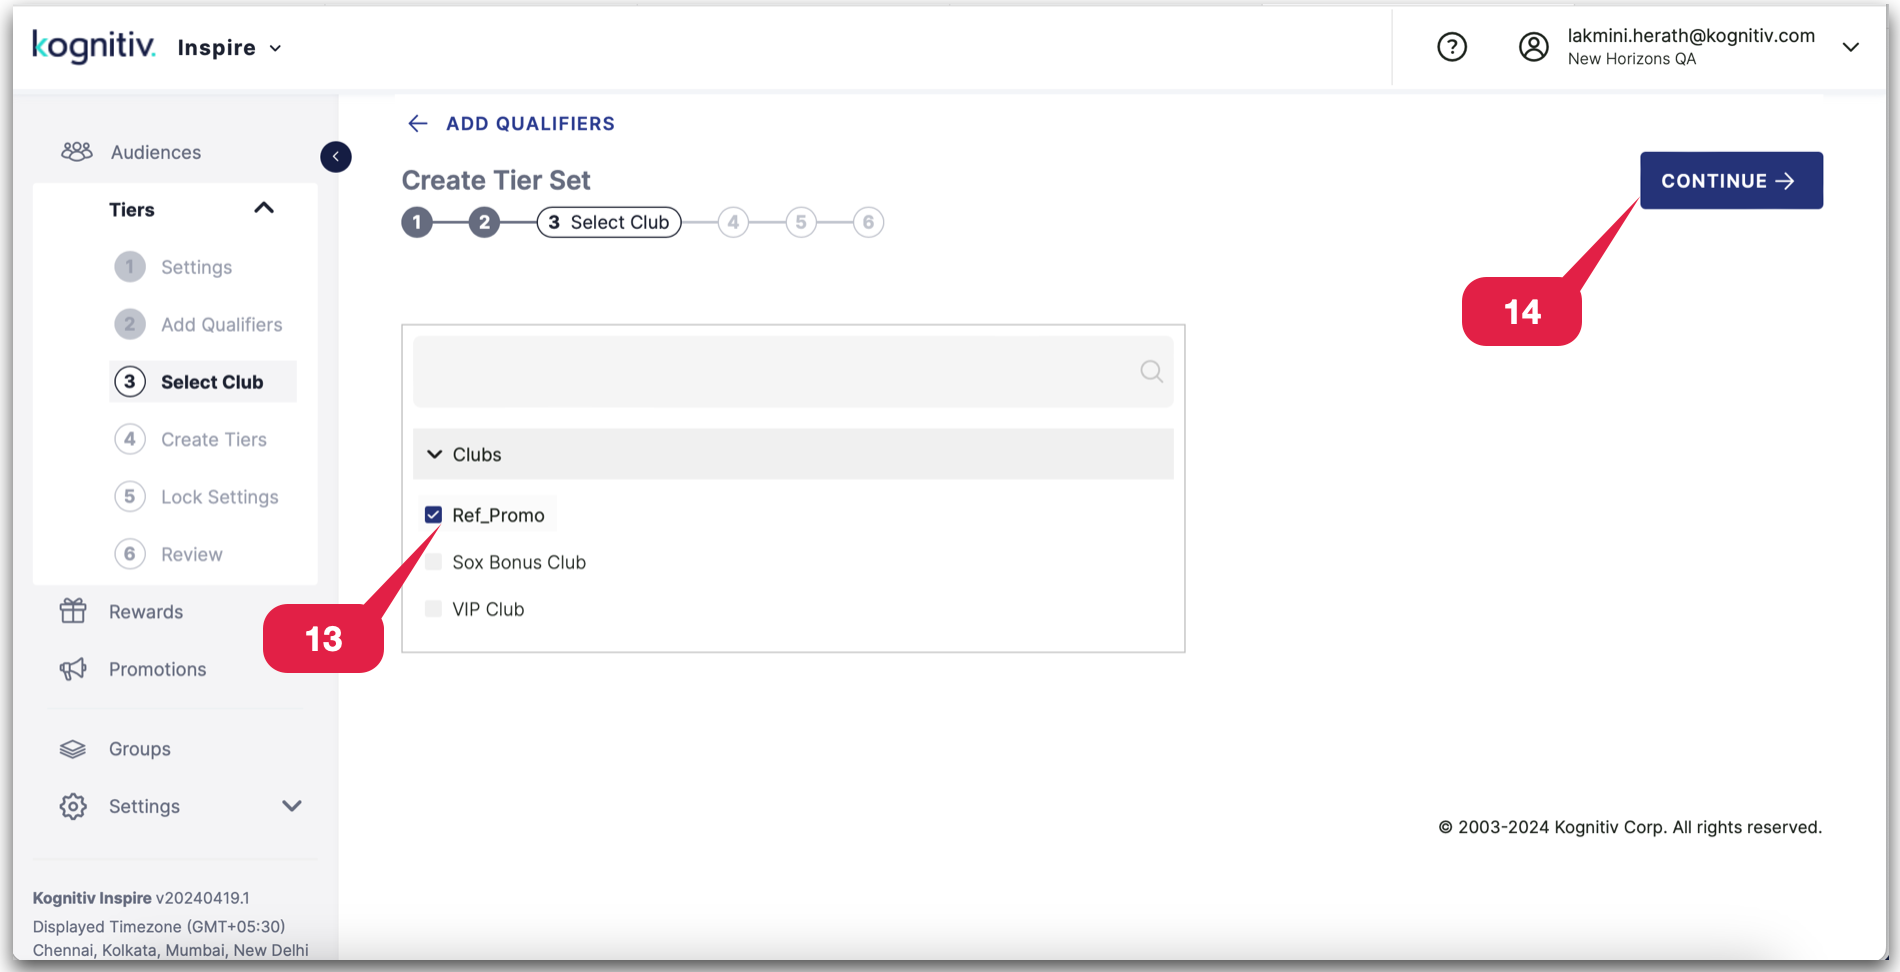
13. Mark the checkboxes corresponding to the clubs where members should be selected for the tier set.
14. Proceed to the "Create Tiers" screen by clicking on "Continue."
Create Tiers
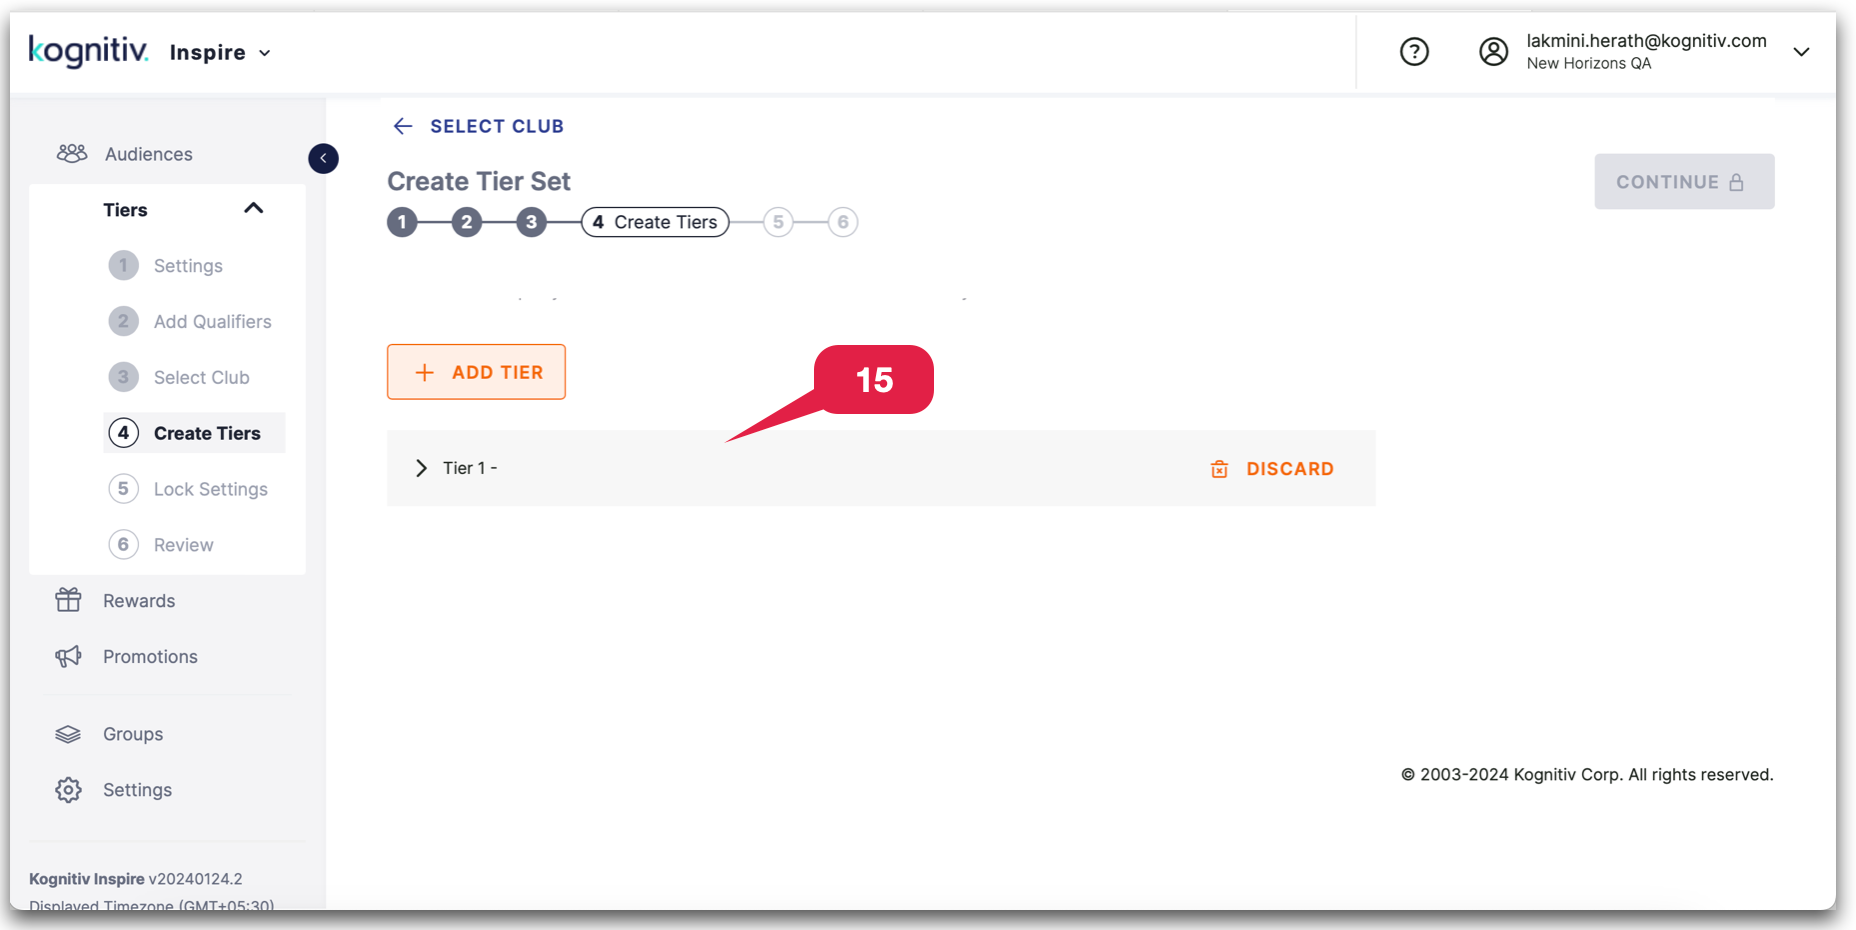
15. Expand the default draft labelled "Tier-1-" to initiate the creation of the first tier within the tier set.
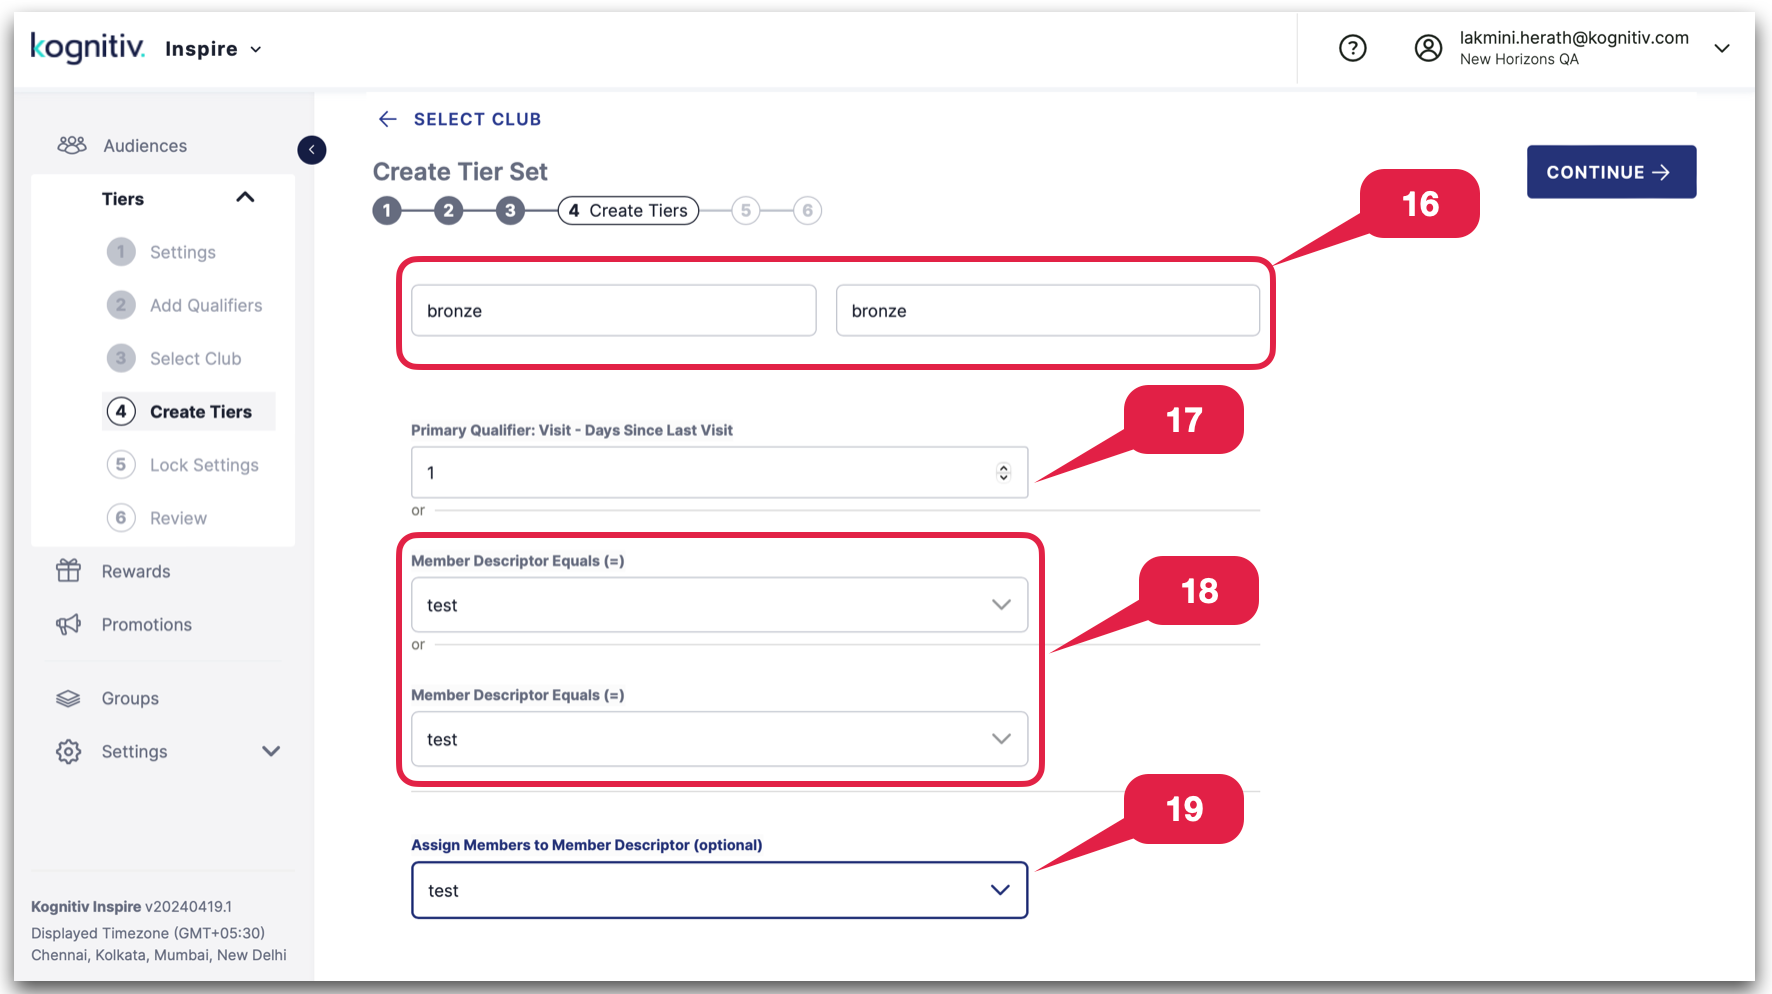
16. Complete the tier details (Name and External Reference).
17. Enter the suitable value for the primary qualifier associated with the tier.
18. Include any necessary additional member descriptors for the tier.
19. Optionally, choose a relevant description from the dropdown menu to designate members to the member descriptor.
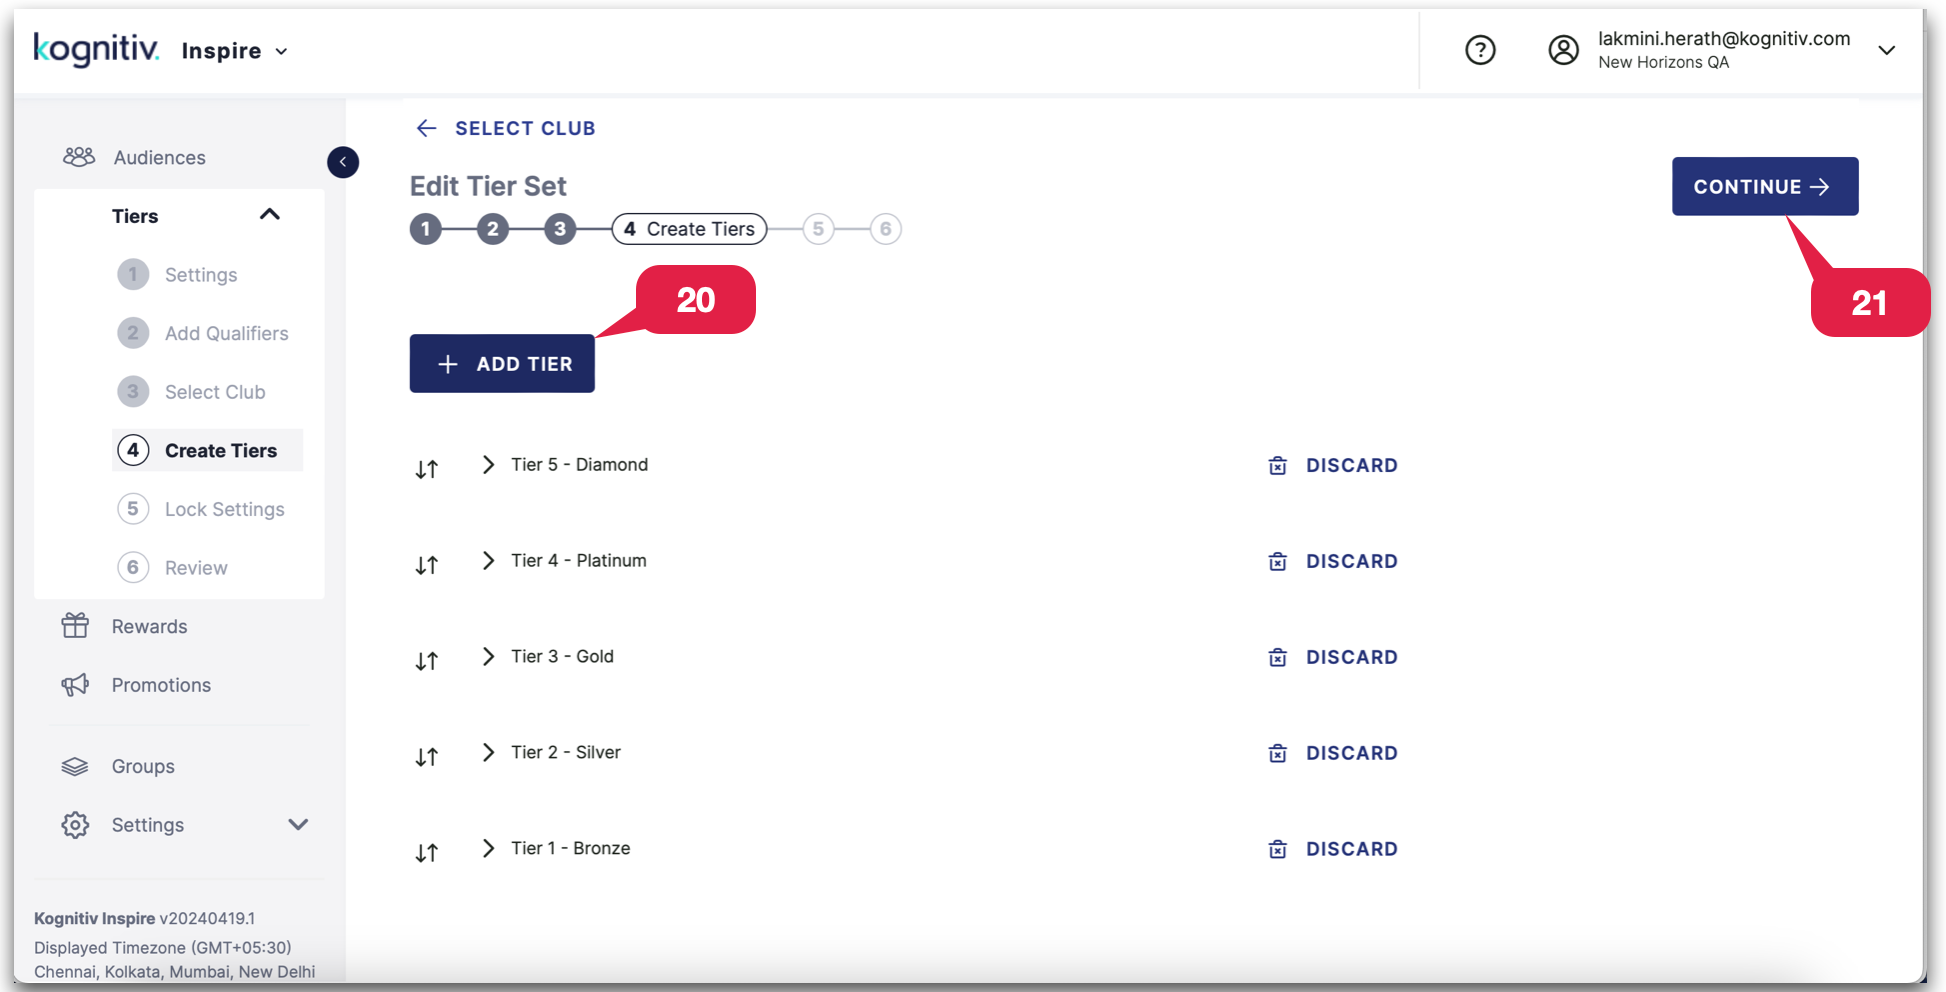
20. Click on the "Add Tier" button to include additional tiers within the tier set, following the same process used to add the first tier.
21. Click "Continue" to proceed to the Lock Tier screen.
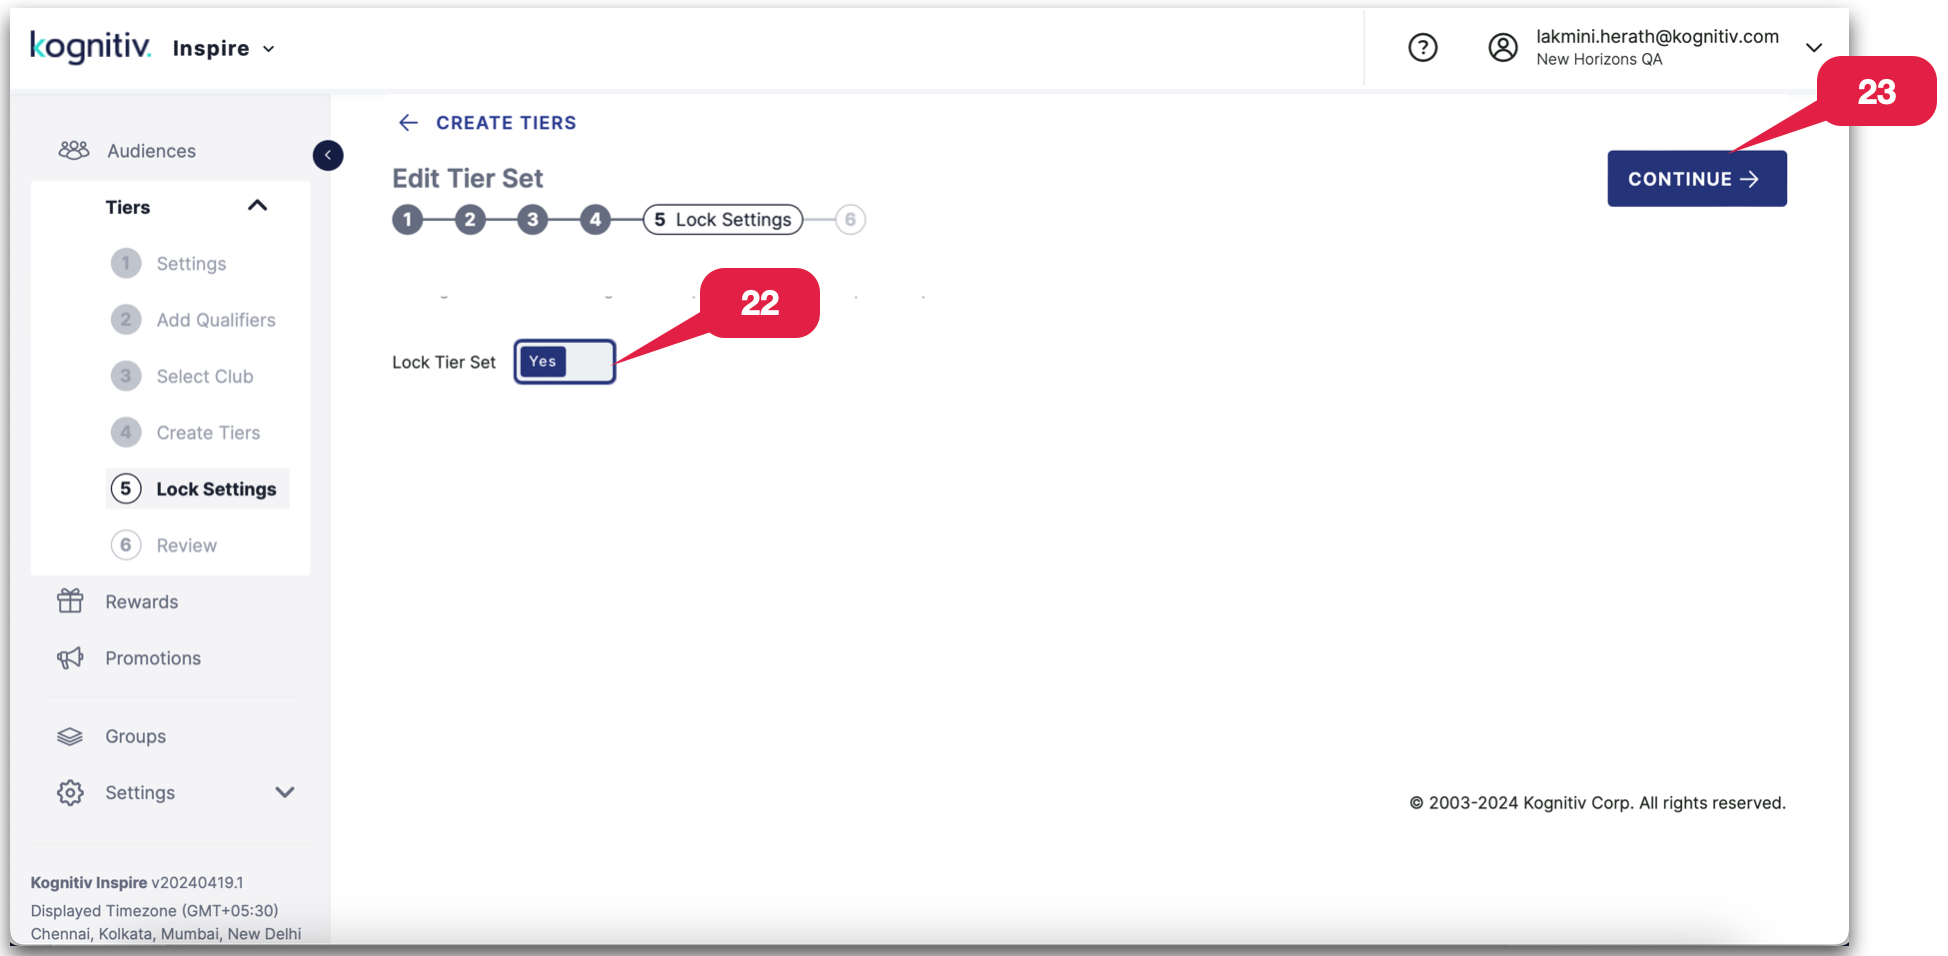
22. Set the toggle to "yes" if you want to lock the tier set.
23. Click "Continue" to proceed to the Review Screen.
Review
24. Review the information and select the "Create Tier Set" to complete the process.
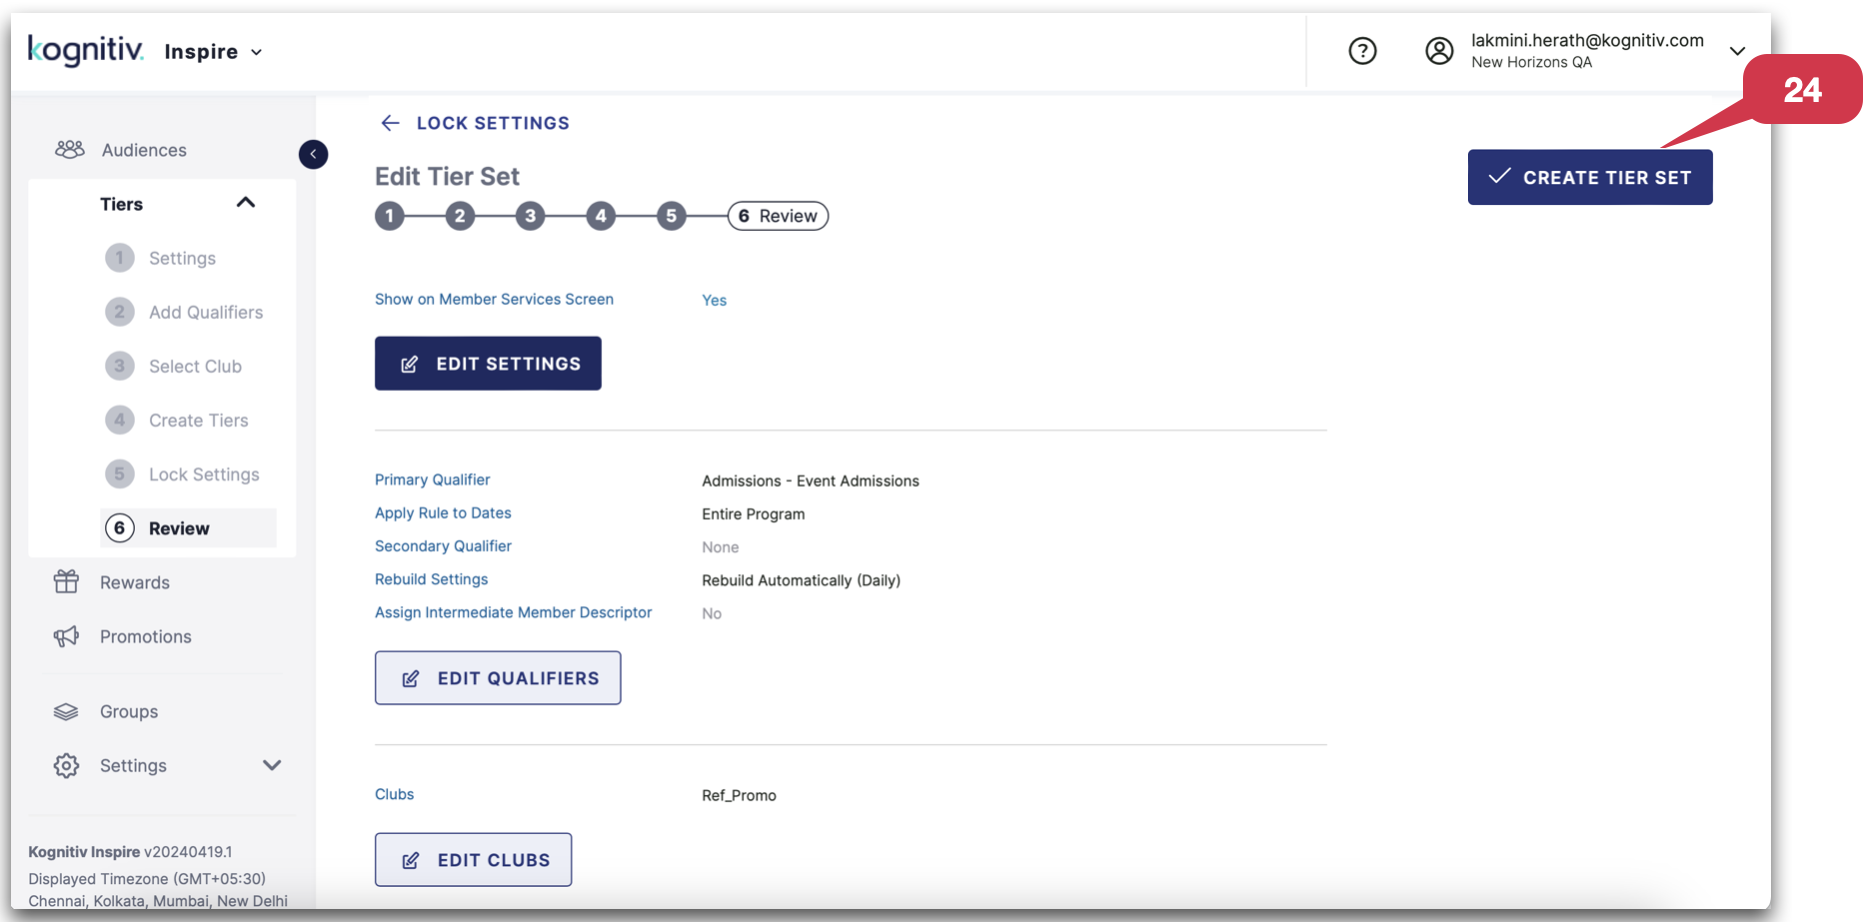
The tier set is now accessible for utilization.
